There are quite a few pictures but I wanted you to be able to really see the step by step process.
(Oh and a quick disclaimer. I'm not, I repeat, not a hand model. Please don't judge.
In fact after 11 years of sticking my hands in buckets of water, cutting and scraping myself with various thorns and branches I'm very far from it. Feel pity on the poor girl below and send her some hand salve. Okay disclaimer done.)
(Oh and a quick disclaimer. I'm not, I repeat, not a hand model. Please don't judge.
In fact after 11 years of sticking my hands in buckets of water, cutting and scraping myself with various thorns and branches I'm very far from it. Feel pity on the poor girl below and send her some hand salve. Okay disclaimer done.)
 |
| I used a 5x5 clear cylinder but you can use anything you have at home. Be creative, use empty containers, jars or bowls! |


If you are going to line the inside of the vase (a nice way to conceal the stems when using more than one type of flower) you will want to remove the hard vein of the leaf which will make it easier to wrap around the inside of the glass. I used two medium size leaves to cover the inside.


Once the leaf is more pliable just wrap around the inside of the vase, already filled with water.


Pittosporum is easy to work with and will give you a nice base for your arrangement. This is a variegated variety with a touch of yellow on the leaves. Make sure you clean the leaves off the bottom of the stems so there are no leaves below the water level.


Begin adding greens to vase until you get a nice full base for the arrangement. I plan on making a symmetrical design so all of the stems are basically one level. Remember to turn your vase as you work to have an even look all the way around.

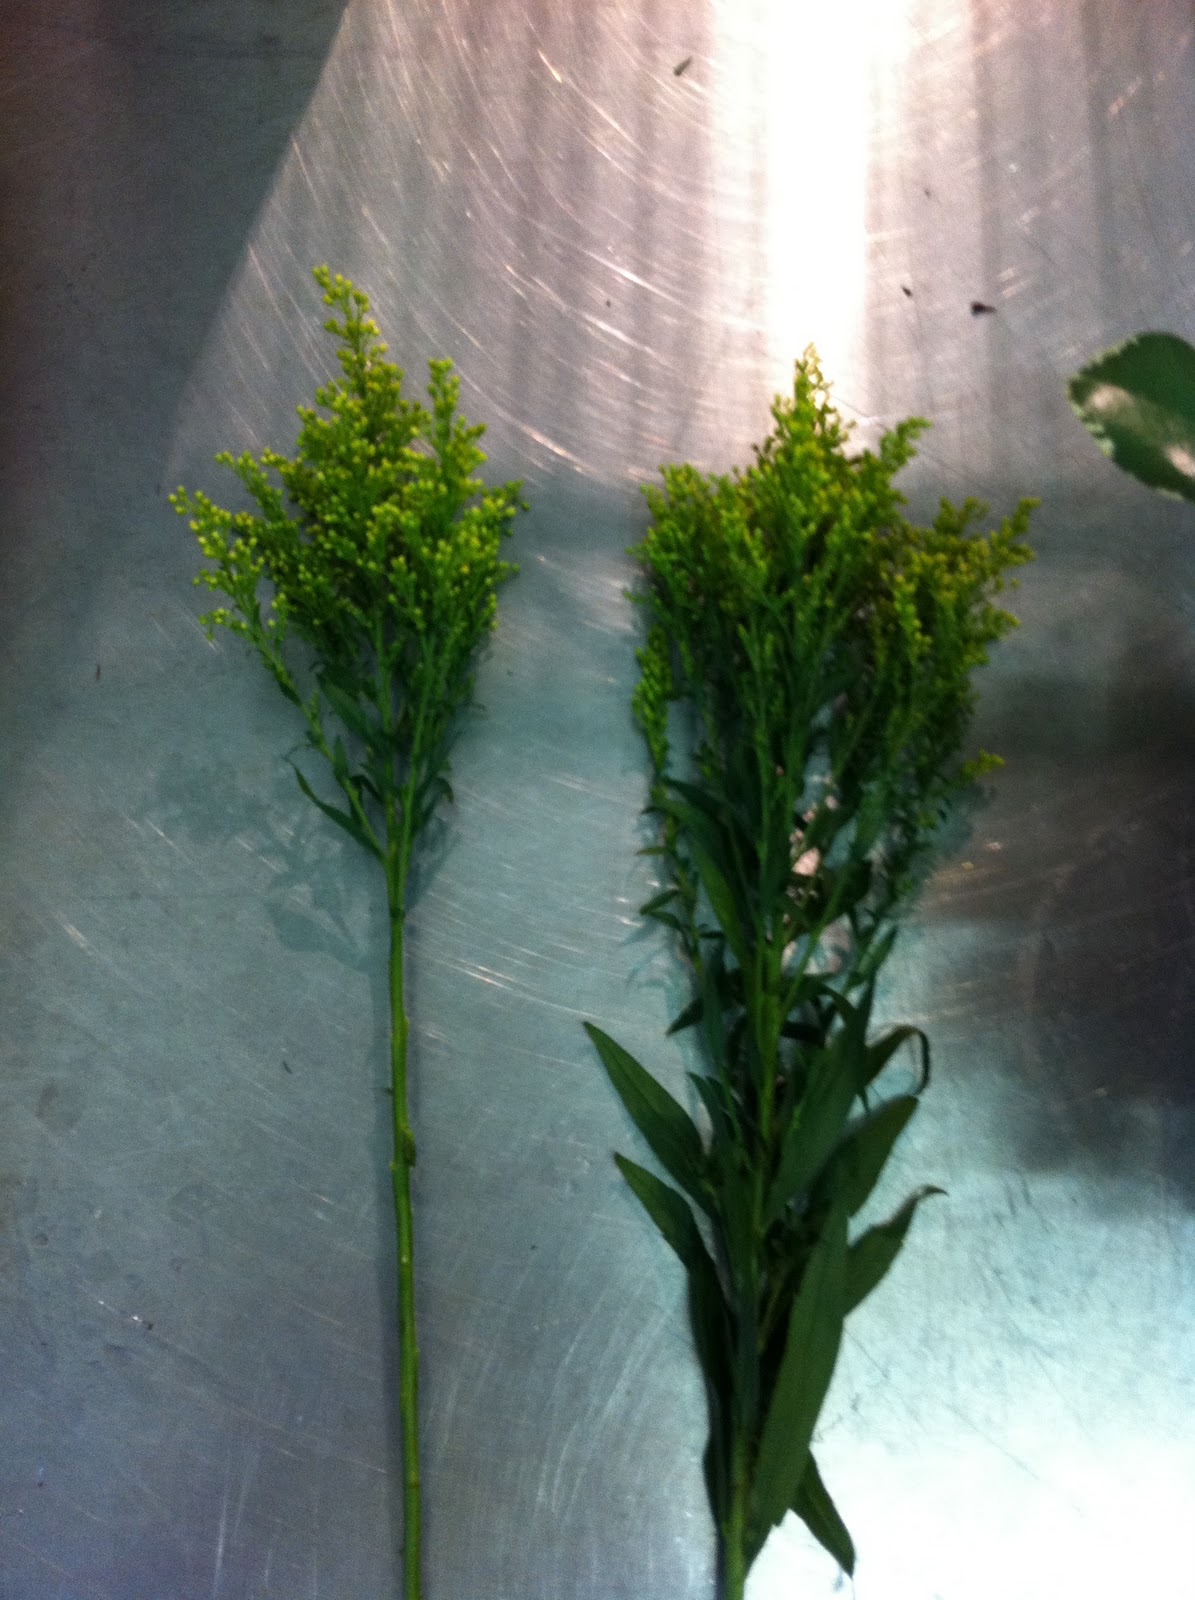
Solidago is a simple filler, adds a bit of color. Nothing fancy here, just adding to the fullness of the design. See the difference in the second picture, you must make sure you take off the lower leaves or the arrangement will not last as long as it should!


Add each stem of solidago evening distributing throughout the greens.


If we were using just tulips for this arrangement I would suggest keeping on some of the larger, lower leaves. However for this design we want to remove those leaves.


I grouped the tulips and cut the stems together, giving them a nice clean cut.
**A note on how to cut the stems - soft stems like tulips, ranunculus, anemones, calla lilies along with many others do not need the same angular cut as some of the woody stems. They will absorb the water just as well with a straight cut and will actually benefit from a clean cut as they have the tendency to become quite mushy.


I placed each tulip individually however I did stay to one side of the arrangement anticipating the placement of the larger stem of amaryllis still to come.


Contrary to my original instruction of maintaining symmetry for this arrangement I added one double bloom of amaryllis to the side of the arrangement (the reason I left room after adding the tulips). **Note about amaryllis stems - the stems are soft and hollow making them a bit difficult to work with. You will need to create space for the stem within the arrangement or it will split and break while you try to get it into the vase.


I can find a million uses for this wired twine but if you don't have something like this at home you can use string, any type of wire, or even scotch tape. Fold the leaves over, catch the end in your fingers and hold tightly.


I added a second leaf for a more ribboned effect. Tie the base of the leaves with the twine or string so that the ends are secured.


Don't worry about the excess wire, just trim or wrap around the stems, you will not see it once you place the leaves in the arrangement.


Trim the ends and add to arrangement near amaryllis stem, or whatever flower you want to highlight. Fluff the leaves a little to give a little more fullness. I really like the look of the rounded leaves and don't like when they become too flattened.
We're almost done!!!


Ranunculus are the last element to add. I keep them for the end because they have small stems so are easy to fit in the arrangement and because I really love how they can add a bit of whimsy to the arrangement, especially the small buds...don't throw those away!!


Look for any "empty" spaces and start adding the ranunculus.


Love the little buds!!


If you find any bruised petals on the underside of the flower don't be afraid to gently remove.


Here's the final product...from different angles so you can see the fullness all the way around with a slight focus on the amaryllis with ti leaf ribbon.


There were not any ranunculus today so I'm showing a alstromeria as a good substitute.
I'll be showing more bodega style arrangements and hand tied bouquets in coming posts so stay tuned to learn how to pick the right flowers if you need something last minute!